Tuesday 13 September 2011

Chicken and Shrimp Vermicelli

It's been a while since I've posted a recipe, so I'll do one today. We'll start with something that's a bit simple: rice vermicelli and broth, dressed up with a an arry of toppings. This little bowl of comfort is best on those chilly days that's fast approaching, or at least is supposed to. The weather here is so erradic. One day it'll be freezing cold and raining, the next, it'd be humid as heck. It's bearable, but at the same time, I await the first snowfall. My first. O_O Anyway, back to the recipe.


The ingredients for this is quite versatile, as you can pretty much put whatever you wish on it.

Chicken and Shrimp Vermicelli

(serves 2)

Ingredients:

1 bundle dried rice vermicelli

-for the broth*-
2 cups water
1 piece of dried konbu
3 large handfuls of katsuobushi (bonito flakes)
2tbsp light soy sauce
2tbsp fish sauce

-for the toppings
1 chicken breast (skin on)
6 pcs tiger prawns, peeled and deveined (or shrimp of choice)
1/2 cup bean sprouts
2 leaves butter lettuce
2 springs of Thai basil (or regular basil)

~Bring a potful of water to boil, add the vermicelli and cook according to directions on package as the cooking time will vary due to the differences in thickness between brands. Pour into a collander, set aside and let drain.

~Place the two cups of water into a pot and place the piece of konbu in it. Let soak for 20mins and then bring to boil over high heat. Next, add the katsuobushi and let boil for 15mins and remove from heat. Using a sieve, carefully scoop up the katsuobushi and konbu and dispose. Add the soy and fish sauce, then set the broth aside.

~Trim away any excess fat on the chicken breast. Add liberal amounts of salt (soy sauce may also be used)  and pepper on both sides. Heat a pan on medium and sear each side of the breast, about 15minutes on each side. Place on a dish and let cool.

~Return the broth to the heat and add the shrimp. Let cook for 4~5mins, until they are cooked ( they'll be firm to the touch and orange-reddish colored). Next, divide the vermicelli into two soup bowls. Slice the chicken breast, and  fan over one side of the noodles. Pick out the shrimp from the broth and place over the noodles as well. Wash and drain the sprouts, lettuce leaves, and basil, shaking off any excess water. Place the lettuce leaf on the side opposite of the chicken and shrimp, followed by 1/4 cup of bean sprouts, and a sprig of basil. Repeat the same with the second bowl. Finally, pour the broth over and serve!

*Or if you're crunched for time, chicken broth/boullion/dashi granules will also work.

Sunday 11 September 2011

Memories live on.

Ten years ago today.

We're stronger. We're united. We will preservere.

Never forget. 9/11/


Friday 9 September 2011

Chairman Bao

I came. I saw. I bao'd.


The legendary Chairman Bao from the Bay Area: One food truck that I couldn't pass up before leaving.

Thanks to food events such as Off the Grid, the concept of food trucks have been vastly transformed. No longer are they just shady-looking trucks parked near street corners, selling stale sandwiches and frozen burritos that signs you up to a night-long appointment with the toilet seat and a bottle of that pink stuff.

Instead, the innovative people running those trucks have pushed the limits of what was into something much more... gourmet. Where else can you get duck confit tacos or perhaps Korean BBQ burritos? Normally, one would look to those up-scale fusion restaurants usually tucked away somewhere downtown, but here in San Francisco, they're made more accessible to the general populace-- via food trucks.

I didn't have the time to explore all the food trucks, as I had to leave for PA in a matter of days. So, I decided to pay the venerable and ever-popular Chairman Bao a visit with a group of friends as part of a celebration of a close friend of mine's 20th birthday.

The truck was serving by Castro and Market St. this particular day. It's not much of a walk from Castro Station (accesible by the Muni Metro lines J, K, L, and M), as you simply make a right and cross the street upon exiting the station. It's quite hard to miss, with the red of the truck calls out, breaking through the monotony. Luckily, there wasn't much of a line as we arrived shortly after the truck started operating, beating the usual rush.


Stepping up to the truck, I was greeted with a rather simple menu that listed a variety of Asian-fusion sandwich fillings, as well as your choice of a baked or steamed bun (bao). After a small debate, my friend and I decided to share a tender pork belly baked bun (as pictured above).

 The baked was a few dollars more, but definitely worth your money in taste. So soft and cottony, the bun was glazed thickly with honey, adding a heavenly balance to the savory pork filling. The braised pork belly itself melted right in my mouth, so perfectly seasoned. Pickled slices of crunchy daikon (with a hint of shisho or beefsteak leaves) helped to add a spark to the palate and cut through the fattiness of the pork belly. The only drawback was the process of eating it, as the contents of the bun tended to spill over as soon as you bite into it. Though, thankfully the truck was kind enough to provide forks and ample amount of napkins for their hungry patrons.

Extremely friendly service and carrying a menu that's only complex in the flavors they offer but not in navigating, I'd definitely reccomend this truck to anyone who is hungry for something new, yet carries a hint of the familiar taste of traditional Chinese homecooking. Tracking it down takes a bit of a task, as you have to either follow them on their Twitter or Facebook fan page to check their weekly schedule and locations. For more photos and reviews of  Chairman Bao, you can also visit their page on Yelp.

Wednesday 7 September 2011

Touching base: PartII

Now that we've unpacked everything (which consists mostly of our personal belongings and nothing more) I'll give you all a quick tour of the living quarters, since I'm currently stuck at home, waiting on the bathroom repairperson and packages from Amazon (a new shiny microwave and kettle chips. YES. Kettle chips.. -___- This is why you shouldn't go online shopping at 4 in the morning)

Anyway, onward with the tour! But before that, I must apologize for the photo quality. I forgot to pack my DSLR so I'm stuck using my cellphone camera. Hopefully, I'll be able to retrieve it this coming summer.

Let's start with the heart of the house: the kitchen.


 The stove and oven are fairly old, but still usable. Unfortunately, the hob is electric and, being so used to gas, takes quite a while for me to get used to. We've a neat little broiler that is a pain to clean, but quite useful I would think when the time comes to carmelize the sugar on top of creme brulees or perhaps making s'mores. Despite my lack of amenities and appliances, I will strive to explore and push my curisoity within the culinary realm.

Next, the livingroom (or is it dining?)


 I doubt we'll ever make use of this space, since everyone (by everyone I mean three people including myself. Soo lonely) usually retreats back to their rooms after doing their business in the kitchen. Ideas for this space are most definitely welcome!

Moving on~ we've also a nice balcony next to the kitchen where you can gaze at the scenery behind the house as you sip your morning coffee or well, you can also spy on your neighbors.


That bisque colored establishment is apparently our garage... that of which is home to a family of Black Widows. Or so the screams from T tell me. I think I'll be parking on the street instead.

Right under the stairs is the portal to the underworld-er I mean a really really really freaky stairway that leads to the even scarier basement, which also leads to the back yard...

>__<;; A place that I shall never venture.
ANYWAY. Here are some nicer stairs to look at.

These will lead you up to the bedrooms and straight to where I am right now.


Currently, the only furniture we have is a mattress (if that's even considered so). =_____= Which means, at the moment, all of our clothes are scattered about on the floor... well my dear roommate's and mine. If you squint closely, you can catch a glimpse of his head... e____e;;

And that'll be my abode for the next 6 months or so, before we move to a better neighborhood. Not too bad, eh? It's definitely a change from the layout of the houses that I'm used to back home, where the majority have floors that are independent from each other, meaning they are ready to be leased to potential renters.

Now that that's done with, I'll share a bit of blog related news to you all. At the moment, I'll be focusing on the recipes that I have backlogged from my few months of absence. I'll also be doing food reviews of the restaurants back when I was still living in San Francisco.... out of homesickness and nostalgia. After I'm finished with those, I'll be focusing on the local restaurants here in Pittsburgh, PA.

Tuesday 6 September 2011

Touching base.

It's been about three days since I've abandoned my home in foggy San Francsico for sleepy Pittsburgh. It's been interesting so far, a definite change in milieu. The sounds of fog horns at night have been replaced by that of chirping crickets and the crisp ocean breeze by that of a thick humid shroud that envelopes one's entirety.

But at least I've found the peace that I've been looking for. Having lived in the fast-paced city all my life, I've never really learned how to slow down and appreciate the small things in life, down to the most minute of things. (Though, that's somewhat of a euphemism for "I'm bored out of my bloody mind so everything and anything becomes instantly interesting")

Anyway, I'll leave it at here. Time to fix up the house and make it inhabitable.

Thursday 25 August 2011

She's Alive and Cooking.

Just wanted to let you lovely readers know that I haven't abandoned this blog. I've been through a rough patch and have had to let go of a lot of things so that I could focus on my personal battles.

But! I haven't stopped cooking or experimenting, so I've a collection of recipes and discoveries to share with you all.

I'll probably start posting by October, as I'm uprooting myself from sunny California to PA so that I may start over and attend culinary school at the end of this month. Alas, no longer do I have to face the toils of being a literature major, burning the night oil only to barely finish my readings and analyses before I'm assigned more. It's not that I'm not interested in the cirrculum, it's more of where my passion lies and what I can do with the degree in the future.

Anyway, I hope you all have been busy in the kitchen. =) Expect many updates!


Tuesday 12 April 2011

rainbow cake.

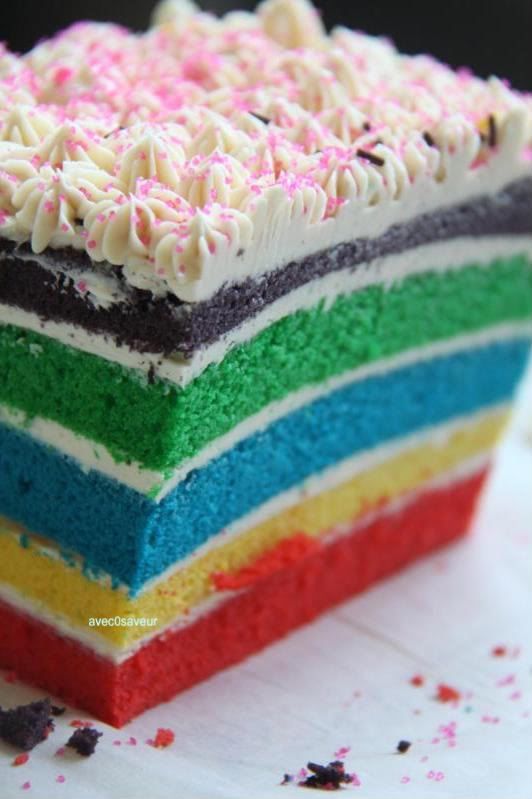
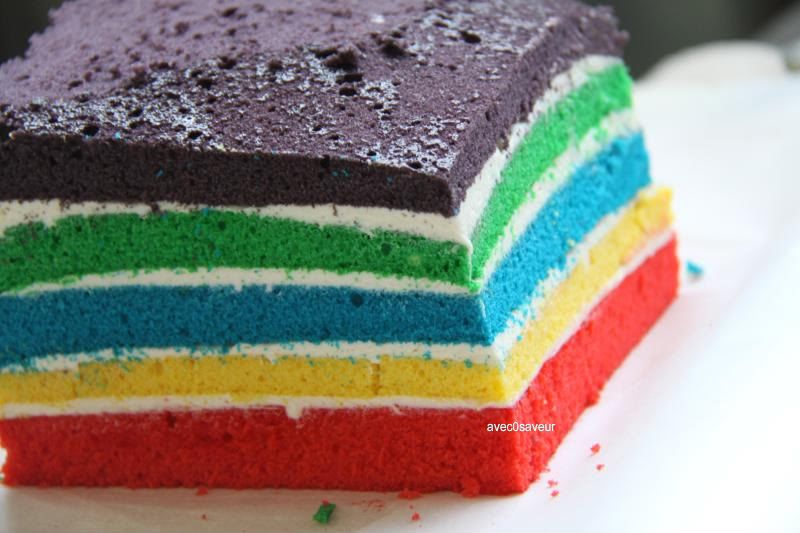
I'm back! I have no excuse for my three month absence. So I'll apologize with a rainbow cake instead. Perhaps the colors will distract you enough to make you forget you were going to throw that kitchen knife at me out of anger. Just kidding. =)


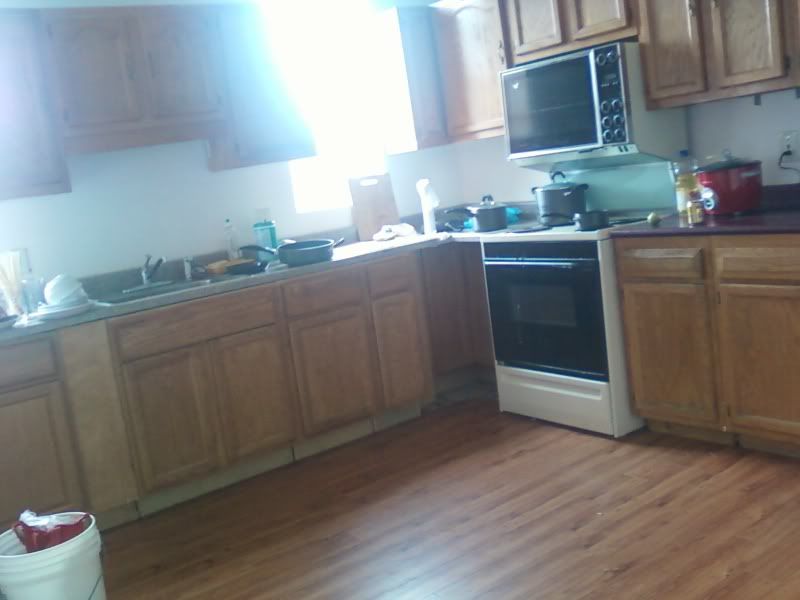
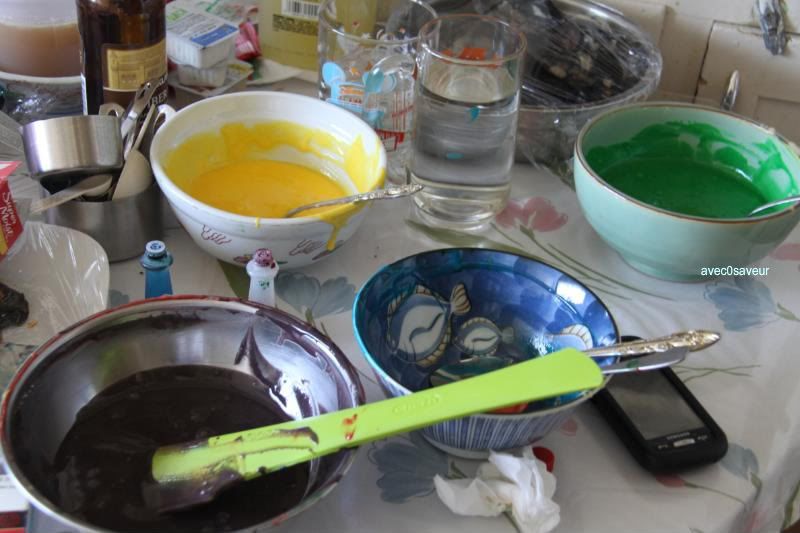
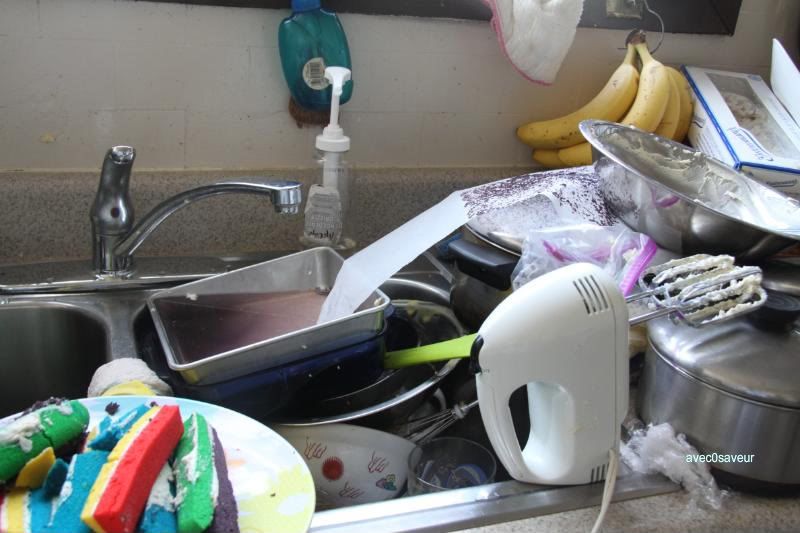
I've wanted to make this cake for a while, but I've always ended up putting it off for some reason. Mostly because I didn't want to deal with the dishes or clean up that came with this little project. My kitchen ended up looking like this for a while.


It was utter pandemonium! Ignore the beer. I was working on a beer-based oxtail stew earlier. I'll upload that recipe sometime after this.

This cake would be easier to make if you had a few extra pans of the same size with you. It's alright if you don't, it'll just be a bit more time consuming since you'll have to wash out the pan each time you baked a certain color. I alternated between two pans. It was still a hassle, but it somewhat cut the time in half.


I didn't really follow or come up with a recipe for this cake. In a sense, I sorta just winged it and improvised as I went along. For the actual cake, I just used a box of cake mix (-le gaspe- How blasphemous! I know, but for test-projects like this, I make an exception)

It's more about what flavors you add to the icing and to the batter, rather than the steps to making this cake, since it's fairly simple. This is the time where you flex your creativity and push boundaries. If you were feeling extra special, you could buy fruit extracts and add them to the batter according to color (ie. Red for strawberry or cherry, yellow for lemon or banana... etc.) OR you can mess with people by mixing up the colors and flavors.


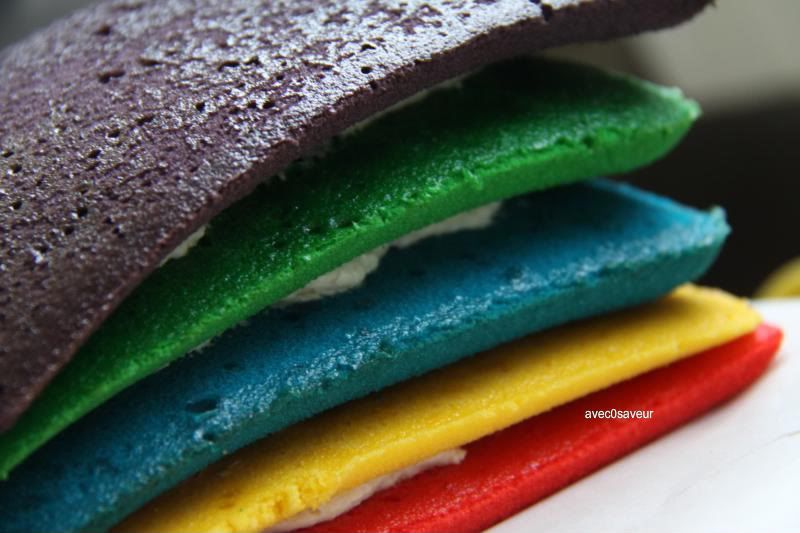
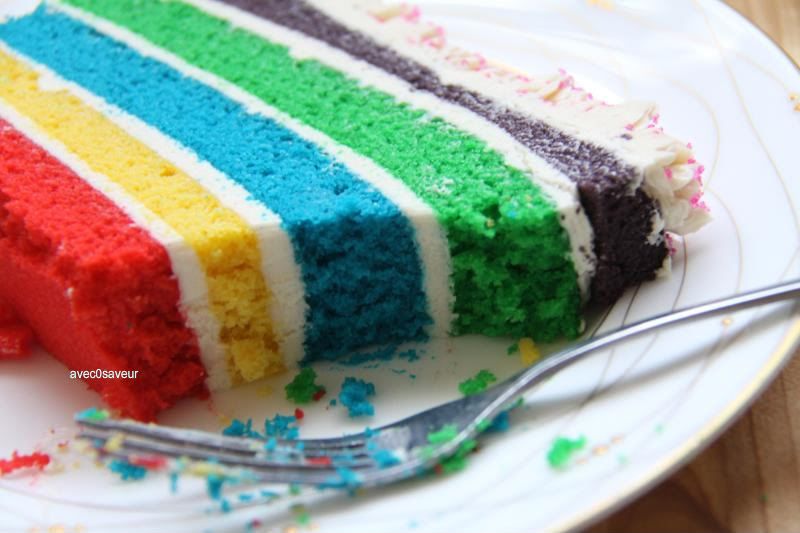
As for the filling, I'd stick with a basic Italian buttercream as I find the white color of it helps make the colors even more vibrant, allowing each to stand out. In this case, I added a bit of Irish cream to it, just because. I figured cognac would be a tad too strong and harsh to the average palate (aka the alcohol-hating friends), though Grand Marnier would work as well. Adds a nice orange-y kick to it (though that'd only work if you didn't flavor the batter with the fruit extracts).

Rainbow Cake

(Italian buttercream adapted from: Allrecipes)

We'll need:

-for the cake-

2 boxes of your favorite plain cake mix (or cake recipe, doubled)

Choice of food coloring (4 or 5 colors is ideal)

Choice of fruit extracts (optional)

-for the Italian buttercream-

1 1/4 cups white sugar

2/3 cup corn syrup*

2/3 cup water

5 egg whites

1 1/3 cups unsalted butter, chilled and cubed

2 teaspoons vanilla extract

3~4tbls Irish cream or Grand Marnier (optional)

**Preheat oven to 350F**

Instructions:

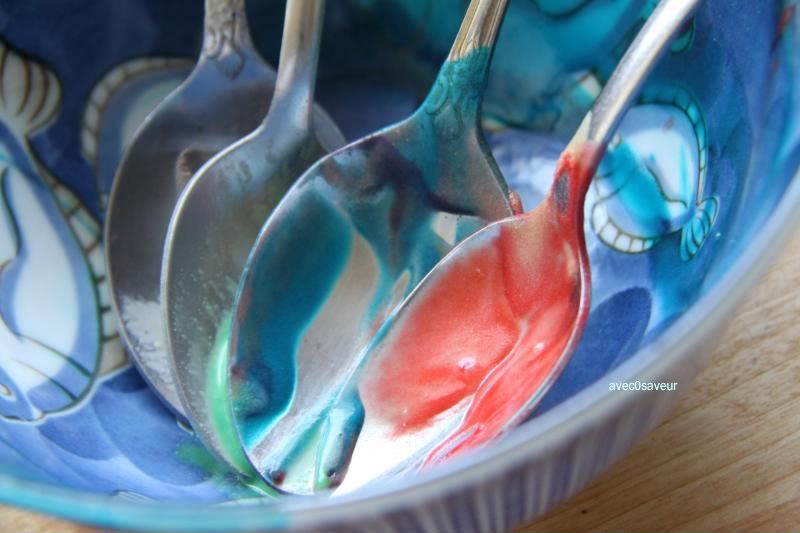
~In a large mixing bowl prepare the cake batter as directed by the box or by the recipe you're using. Separate the batter by 3/4 cupfuls into separate bowls. Next, add the desired food coloring to each bowl. (Don't be shy, try mixing colors and see what you come up with!) Then, if using, add the fruit extracts to each respective batter. Set aside.

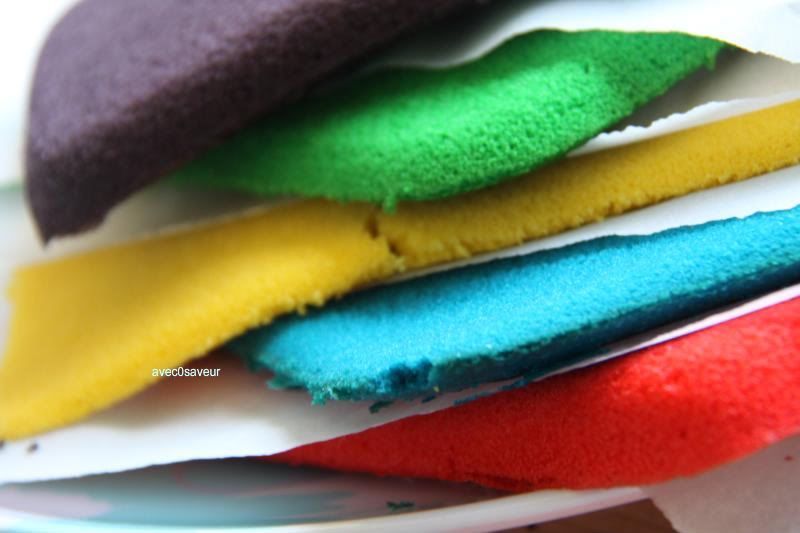
~Butter an 8x8inch square baking pan or a 9inch round and pour one of the batters into it, spreading evenly by gently tapping the pan against a hard surface. Then place into the preheated oven and bake for about 5~15mins. (Note: Don't depend on a timer alone, be sure to check the cake frequently to prevent the bottom from turning brown. That will discolor the cake and make it less vibrant. You can feel for doneness by gently pressing down on the surface of the cake. It should spring back when ready) When the cake is done, remove it from the oven and let cool for about 10mins, the edges should pull back from the pan. Then, carefully remove the cake and place on a parchment-lined plate or cooling rack. Wash the baking pan, dry, and repeat the process until you've used up the batters.


To prepare the Italian Buttercream:

~In a saucepan, combine the sugar, corn syrup and water. Bring to a boil over medium-high heat, stirring just enough to dissolve the sugar. Heat to between 223 and 234 degrees F, or until a small amount of syrup dripped from a spoon forms a soft thread. It should take 1 or 2 minutes. 

~When the sugar mixture has reached the thread stage, remove it from the heat and set aside. Whip the egg whites in a large bowl with an electric mixer. When the whites can hold a stiff peak, pour in the sugar syrup in a thin stream while continuing to whip at medium speed. Be careful not to pour too quickly, or it will all end up at the bottom of the bowl. When the syrup is incorporated, continue to mix for 10 more minutes to allow it to cool. The egg whites will be fluffy and glossy. 

~Add pieces of cold butter one at a time to the egg whites and continue to whip at medium or low speed. The buttercream will break down and look curdled, but keep mixing and it will come back together in about 10 minutes. When it comes back around, mix in the vanilla and/or the Irish cream or Grand Marnier. Store at room temperature for up to 2 days, or in the refrigerator for up to 1 week.  

*If you can't find or don't like using corn syrup, here's a substitute:  Boil together 1 cup of sugar and 1/4 cup water for about 5~15mins, until syrupy. 


To assemble:

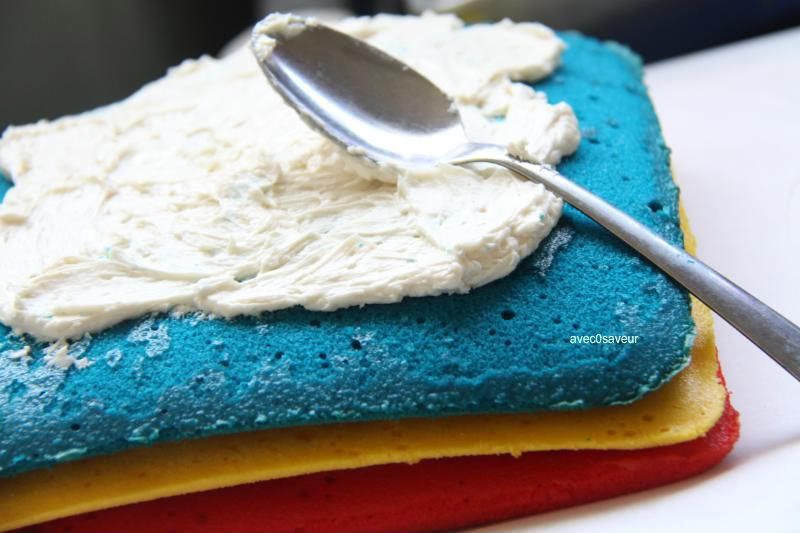
~Line the edges of a plate or cake dish with pieces of parchment paper and place a layer of cake on it then spread about 1/4 cup of buttercream on top, gently pressing down after each layer. (Note: If there is a "crown" or a bump on top of the cake layers, you can simply level it by carefully cutting it off. Then you can proceed with icing the layers and assembly) Repeat until you've used up all the layers.

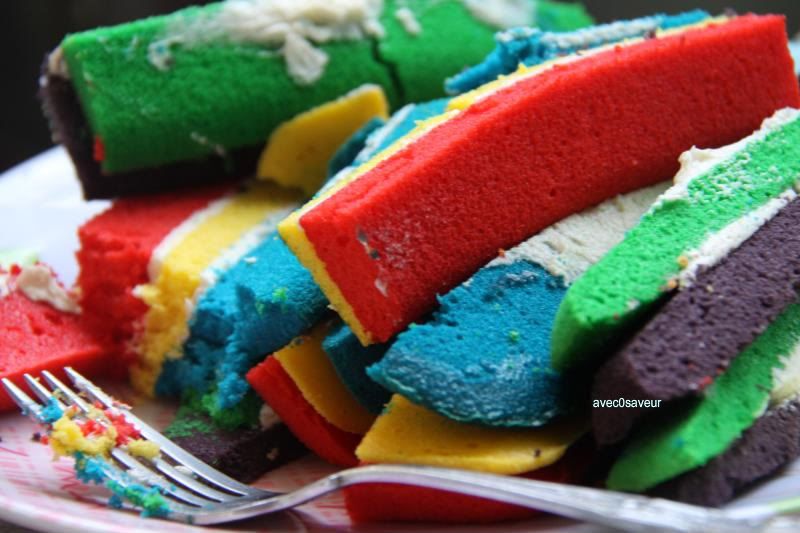
~Next, trim off the edges, if you used a square pan, to create a more defined and sharper shape. You don't have to do any trimming if you used a round. Finally, spread the remaining buttercream onto the outside of the cake. You can also pipe decorations, using piping tips and a pastry bag, if desired. Chill the cake in the fridge for at least 30mins to 1hr. Slice and serve!


-phew- That was wow. I wish writing papers came this easily.

So umm.... a little help?

Anybody?